 photography + styling by karen mordechai
Beets, whether roasted or boiled, pickled or grated raw, add a distinctively sugary shock of color to any meal. We've also discovered that they are a wonderful main ingredient, this week we will be presenting a series of beets recipes created at the Sunday Suppers kitchen. We stretched a bit beyond the (overplayed) pairing of beets and goat cheese to discover a few new flavor combinations. Some great pairings include: mint, feta, hazelnuts, orange, ricotta salata and even tomato. So stay tuned this week for some mouth watering beet treats ! We hope you enjoy them as much as we do.
More About Beets :
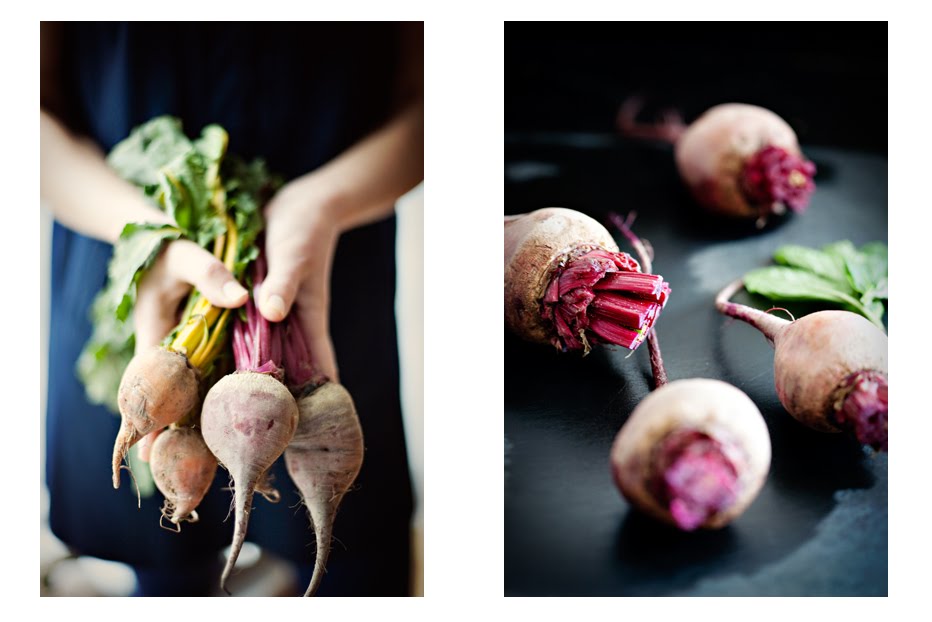
This multifaceted root ranges in color from familiar crimson to light gold and creamy white; for a real beauty, try the Italian Chioggia beet, which reveals its pink and white stripes when sliced.
Health Benefits:
Beets are a good source of folate. Deep red varieties are also rich in anthocyanins, which may reduce cancer risk. And the greens, often (mistakenly) discarded—are rich in calcium, vitamin C, beta-carotene, and iron.
Selecting, Preparing, and Storing:
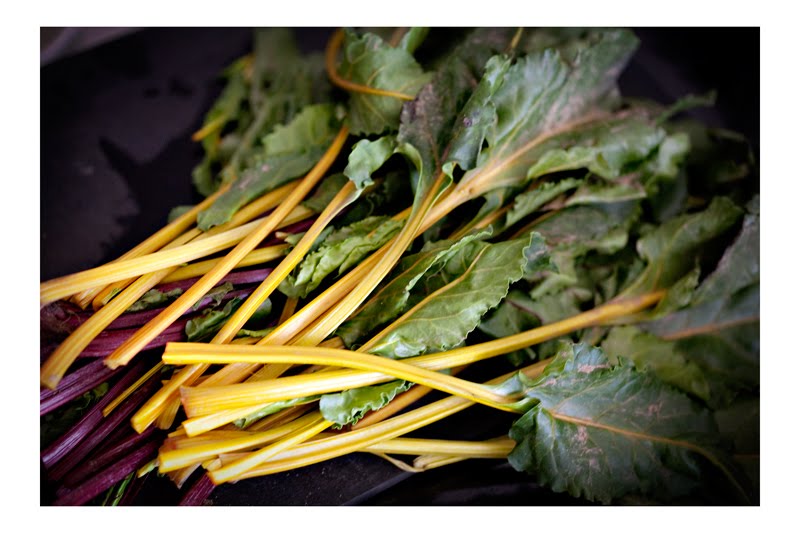
Look for beets with smooth, unwrinkled skin and a firm, hard feel. When choosing beets, bigger is not always better. Select the tiny "babies" or the smaller adult variety when you can; anything over two inches or so in diameter can have an unpleasantly woody texture. Buy beet bunches with the green tops still attached: They should appear bright and not wilted. Remove greens from beets and store separately in plastic bags in the refrigerator for up to one week. The greens can be steamed or sauteed in a similar fashion to swiss chard.
To maximize nutrition, flavor and color, cook beets with their skin on. Remove tops and the long bottom root to within 1/2 inch of the beet "globe." Wash carefully and steam in a covered pot, or wrap in foil and bake at 350° F, for 45 to 90 minutes, depending on size. Try to choose beets of approximately the same size to keep cooking times even. When they're easily pierced with a fork, they're done.
Let them cool a bit, and use a paper towel to help you slide the skins off (and to prevent your hands from getting stained red).